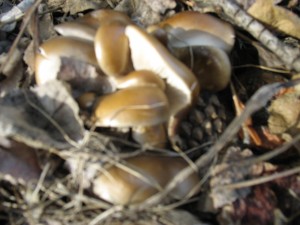
Mushroom Cultivation workshops are a great way to learn mushroom growing and meet other mycophiles.
The second mushroom growing workshop I attended was this last October at the Bioneers conference. This was given by Glenn Babcock of Garden City Fungi in Missoula, MT, gardencityfungi.com. The idea with this workshop was to use a Master spawn to inoculate spawn bags for the participates to take home and establish an outdoor mushroom bed.
The workshop started with an interesting history on Shiitake mushroom cultivation. Then there was a presentation on general mushroom cultivation and life cycle. There was a question and answer session and then we got into the spawn creation.
The master spawn was from Garden City Fungi’s production Oyster spawn. It was in a space bag with a filter to allow gas out and to keep contaminates from getting in. The space bag is essentially a plastic bag with a filter and it is partially filled with sawdust fortified with oats. The bag is then sealed and sterilized. After cooling, the bag is then cut open and inoculated with Oyster spawn by pouring some spawn from the master bag into the space bag and the bag is then resealed. These master spawn bags can be expanded from 1 to 10.
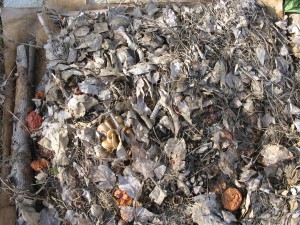
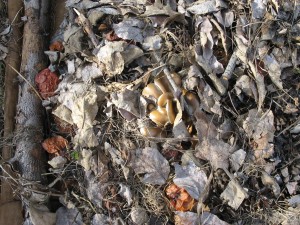
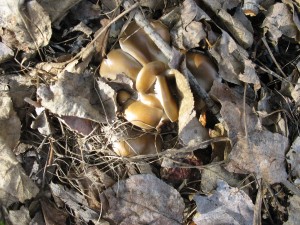
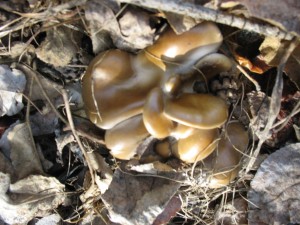
The bags were then taken home by participates to start an outside mushroom bed. The bag was allowed to rest until the mycelium spawn consumed the substrate turning the mixture from brown to white. We were then instructed to remove vegetation from a small area and fill the space with hardwood chips. The space bag was cut open and spread on the wood chips and covered with leaves. The bed is to rest through the winter and flush next spring or fall.
I received a partial bag of master spawn left over from the workshop. I was cleaning up our garden at the time so decided to try and get the spawn to grow on corn stalks. The corn stalks were harvested and thrown in a plastic tub. The stalks were showing signs of mold so I was not sure it would work. The stalks were broken up just enough to fit in the tub and the tub was filled with water. After soaking over night the tub was drained and the spawn was mixed into the wet cornstalks. The tub was covered loosely and left outside since the temperatures at that time, November 1, were between 40 and 60. Acceptable spawning weather for oyster mycelium, but not warm enough for mold. The tub was left outside until the temperature started dropping to freezing at night. I am happy to report at that time the spawn had spread very well for coarse material and the project was brought into my garage. When the weather gets warmer this spring the tub will be put outside and with some luck mushrooms should flush. Checking on it this week the mycelium has spread throughout the substrate and is busy consuming the stalks.
I will report on the status of both the outdoor bed and tub experiments as they progress on this site. With a little luck and planning I should have lots of oyster mushrooms to eat this spring and fall!

